Sign up now to unlock Rewards offers.
Free standard next‑day delivery to most UK areas

Semi Frameless Shower Enclosure Pros and Cons
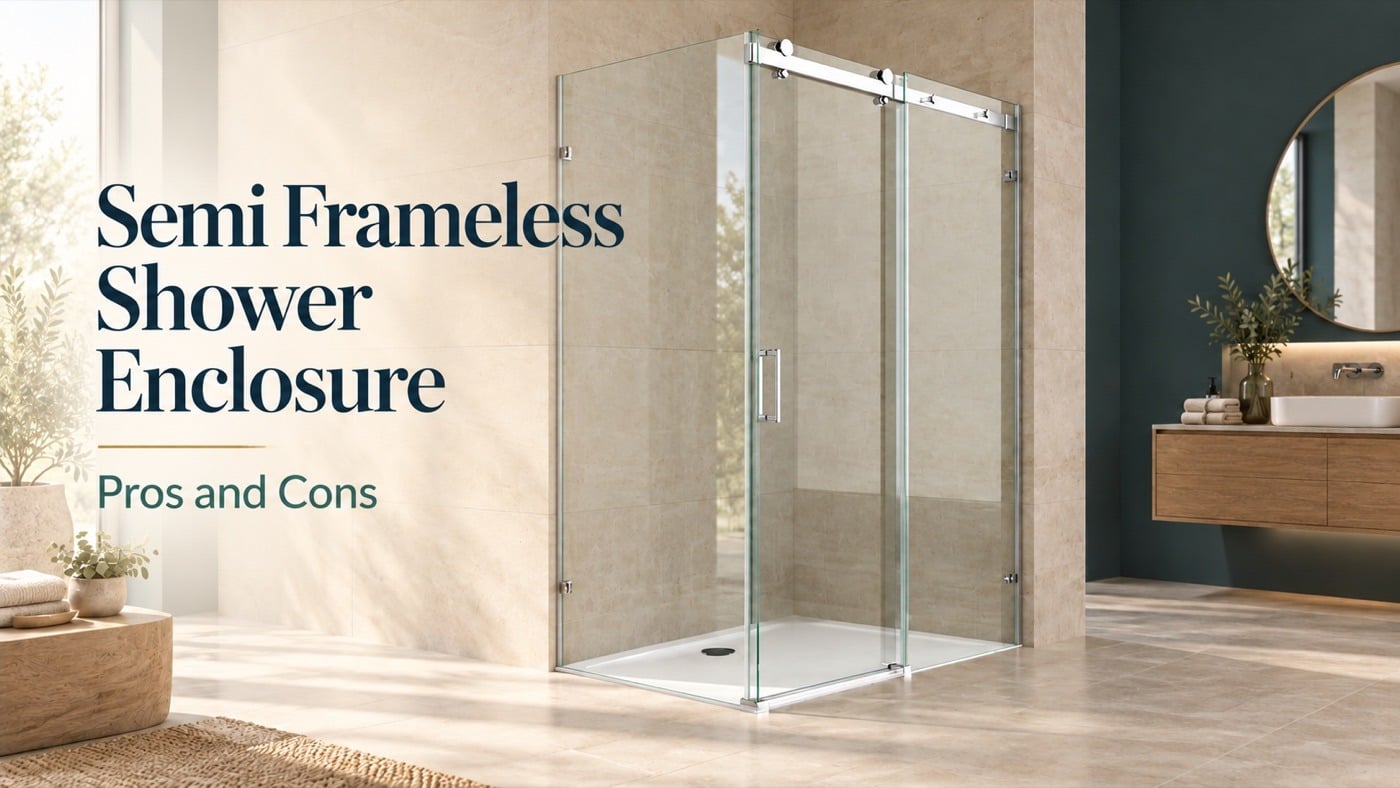
A semi-frameless shower enclosure offers a balance between the defined structure of framed glass doors and the open appearance of a frameless design. By reducing the amount of visible metal around the glass, it can give a bathroom a lighter, more contemporary finish.
For a bathroom renovation, that balance can be appealing: modern styling, practical support and a potentially lower price than a bespoke frameless installation. However, the remaining profiles still need cleaning, and performance depends on the complete enclosure rather than its style label.
This guide explores the main benefits and drawbacks, popular layouts and the details to check before buying.
Why consider it Modern styling, selected structural support and a wide choice of standard layouts.
What to check Remaining frame recesses, door clearance, sealing details and the complete installed price.
What Is a Semi-Frameless Shower Enclosure?
Key Features and Structural Design
A semi-frameless enclosure combines framed sections with exposed glass edges. It retains a metal frame or individual profiles where support, adjustment or door guidance is needed, while leaving other edges unframed.
Depending on the model, it may include wall profiles, a header rail, a bottom threshold, hinges or sliding rollers. Some designs have an unframed door within a framed surround; others use slim profiles around fixed panels.
Terminology varies between manufacturers. Check the product photographs, specification and installation drawings to understand which parts are framed. A visible rail alone does not establish whether a product is classified as framed, semi-frameless or frameless.
The distinction is easiest to understand by looking at the edges of the moving door. A fully framed door usually has a profile around each edge, whereas a semi-frameless system leaves some edges exposed while retaining support elsewhere. This can reduce visual bulk without removing all of the enclosure’s structural metalwork.
A header rail may also carry a sliding mechanism, so it serves a different purpose from a decorative trim. Before buying, identify where the door weight is carried and which components are fixed to the walls. This helps you discuss the installation accurately with your fitter.
Standard Materials and Glass Thickness
Typical materials include toughened safety glass, aluminium profiles, metal fittings and flexible door seals. Common finishes include chrome, matt black and brushed metallic options.
Glass thickness varies by system. Semi-frameless products may use 6 mm or 8 mm glass, while some use thicker panels. Choose a complete assembly designed around its specified glass and hardware rather than assuming thicker glass always makes the better enclosure.
Frameless products also vary. Within Durovin’s linked range, the Ravenna 17-2nd sliding models use 8 mm glass, while the Teramo 22, Ravenna 26 and Ravenna 28 Clear models use 6 mm glass. The style name does not determine the thickness.
Consider glass thickness alongside panel size and door movement. A larger moving panel places different demands on hinges or rollers from a small fixed panel. More substantial glass can feel reassuring in use, but the wall fixings and supporting hardware must be appropriate for the complete system.
Toughened glass cannot be trimmed to fit during installation. Any required dimensions and factory-made holes must be correct before the glass is supplied. If measurements are uncertain, resolve them before ordering rather than relying on the fitter to alter a panel on site.
Pros of Semi-Frameless Shower Enclosures
Cost-Effective Modern Aesthetics
Reduced framing reveals more glass and tilework, helping the shower feel less visually enclosed. This makes semi-frameless designs attractive when you want a contemporary finish without committing to a bespoke frameless system.
A standard semi-frameless enclosure can be a budget friendly option, although prices overlap across categories. Dimensions, finishes, hardware and included components all affect value.
This approach can be particularly effective when replacing an older enclosure with broad profiles. Keeping the same general shower footprint while choosing slimmer framing may refresh the room without changing the plumbing layout, provided the replacement tray and enclosure are compatible.
To judge value fairly, compare products with a similar size, finish and specification. A low headline price may exclude side panels or a tray, while a more expensive package may include components you would otherwise need to buy separately.
Enhanced Durability and Safety
The remaining profiles provide support at selected points and may help stabilise fixed panels or guide moving doors. A well-designed system combines suitable glass, hardware and fixings to provide reliable everyday operation.
Toughened safety glass is an important feature, but framing alone does not make one enclosure safer than another. Correct installation, secure fixings and undamaged glass edges matter across all designs. Check the manufacturer’s safety documentation and avoid treating the glass as a support or grab rail.
Durability also comes from the smaller components you use every day. A door should move smoothly, close without being forced and remain aligned with its seals. Handles, rollers and hinges deserve as much attention as the glass when you assess build quality.
If children or people with limited mobility use the bathroom, think about entry width, threshold height and access to a separately installed grab rail. An enclosure should be selected as part of the overall bathroom arrangement; its framing style alone does not establish accessibility.
Easier Installation and Customization
Some semi-frameless models feature adjustable wall profiles that accommodate small variations in the finished opening. Within the stated adjustment range, these can make fitting more forgiving where walls are slightly out of plumb.
A choice of standard sizes, finishes and opening directions can also help match the enclosure to your layout. However, selecting from standard options is different from ordering bespoke glass. Major wall irregularities or unusual dimensions may still require preparation or a made-to-measure solution.
For example, a wall profile may offer a limited amount of width adjustment, but that does not mean the door can fit every opening close to its nominal size. Use the published minimum and maximum finished dimensions, and check whether adjustment is shared between both sides.
Reversibility is another useful feature, but it should be confirmed for the exact model. A door that opens in the wrong direction can make an otherwise suitable enclosure impractical. Decide on the opening side before coordinating towel rails, vanity units and other fittings.
Better Water Retention Than Frameless Options
A semi-frameless design with effective seals, overlapping panels and a bottom rail can contain shower spray well. These features may provide better splash control than a more open frameless arrangement.
This is a design-dependent advantage rather than a rule. A fully enclosed frameless shower can also retain water effectively. Compare the threshold, closure, seals and showerhead position rather than judging water retention by framing alone.
Think about how water reaches the door in normal use. A handset aimed directly at a vertical seal presents a different challenge from an overhead shower positioned away from the entrance. A suitable layout reduces the amount of spray striking the most vulnerable joints.
A bottom threshold may help contain splashes, but it also changes the step into the shower. If easier entry is a priority, compare the actual threshold height and the manufacturer’s water-containment arrangement instead of assuming that the lowest profile is automatically the best choice.
Cons of Semi-Frameless Shower Enclosures
Less Seamless View Compared to Fully Frameless
Semi-frameless enclosures retain visible metalwork. A header rail can interrupt the view through the shower, while wall profiles and bottom rails create defined borders.
If your priority is an uninterrupted view of statement tiles, a frameless design may be more appealing. Look at the complete installation rather than focusing only on the door panel.
The impact of framing depends on its colour and the background. A dark rail against pale tiles is more prominent than a reflective chrome profile against a varied surface. This can be attractive if you want a defined architectural outline, but less suitable if you want the shower to recede visually.
Look at the enclosure from the bathroom entrance as well as from inside the shower. The position of the header rail, handle and wall profiles can affect the overall composition more than a close-up product photograph suggests.
Potential Dirt Accumulation Around Frames
Profiles, seals and tracks create edges where soap residue and limescale can collect. Sliding systems may need particular attention around lower guides and overlapping glass.
For better cleaning ease, look for accessible tracks, removable seals and quick-release rollers where specified. Glass coatings can help reduce surface deposits, but the frame and fittings still need regular maintenance.
Hard-to-reach areas matter more than the total amount of metal. A narrow gap between overlapping panels may take longer to clean than an exposed wall profile. Check whether you can comfortably reach both sides of the glass once the enclosure is installed.
Choose features that support a realistic routine. If you are unlikely to dismantle removable parts frequently, favour surfaces that are easy to wipe in place. Cleaning convenience is most useful when it works with your everyday habits.
Risk of Minor Leakage at Frame Seams
Joints around the profiles, tray and seals can become leakage points if the enclosure is misaligned, incorrectly sealed or worn. A damaged door seal can also allow water to escape even when the frame itself is secure.
Persistent leakage needs investigation. Follow the exact fitting instructions rather than adding silicone to every gap, as some systems have drainage routes that must remain open.
When investigating a leak, identify where water first appears. Moisture at the bottom corner can originate higher up a profile or from the tray-to-wall junction, so the visible wet patch is not always the original fault.
A fitter should check the door alignment, seals, tray stability and model-specific sealing arrangement before applying a repair. Repeatedly covering a problem with extra silicone can make later diagnosis and cleaning more difficult.
Popular Styles and Layout Configurations
Door movement and enclosure shape are separate choices from framing style. The following Durovin products are marketed as frameless alternatives and provide useful examples when comparing layouts.
Sliding and Bypass Door Systems
Sliding doors move sideways, avoiding the outward swing required by a conventional hinged door. Bypass systems typically use overlapping sliding panels; other designs combine one moving door with fixed glass.
For a recess layout, the Ravenna 17-2nd frameless sliding shower door uses 8 mm toughened safety glass. For a corner arrangement, the Ravenna 17-2nd rectangular sliding shower enclosure combines a sliding entrance with a side panel.
The Ravenna 17-2nd U-shaped sliding shower enclosure offers a three-sided configuration. Check usable entrance width and cleaning access around overlapping panels before choosing any sliding system.
A sliding entrance is especially useful beside a vanity unit or toilet, where an outward-opening door might collide with another fitting. However, the opening is usually narrower than the full enclosure width because a fixed or overlapping panel remains in place.
Check the internal handle position too. Handles can affect the door’s travel and the space available inside the shower. Where practical, review a dimensioned drawing showing the clear opening rather than estimating access from the overall width.
Pivot and Hinged Door Styles
Pivot and hinged doors rotate open, with the permitted opening direction depending on the mechanism. They can provide a convenient entrance, but you must check clearance against nearby sanitaryware and furniture.
The Teramo 22 frameless hinged shower door uses 6 mm toughened safety glass and offers reversible installation. Confirm the opening arrangement in the technical drawings before ordering.
If a full-width swinging door would obstruct the room, a folding alternative may suit the space. The Ravenna 26 frameless bi-folding shower door uses 6 mm toughened safety glass and folds at its central joint. Check both its folded position and clear entrance width.
A pivot mechanism positions the rotating point differently from a conventional side hinge, which can change how the door moves through the room. Always use the manufacturer’s opening diagram to assess clearance, including the handle and any towel rail fitted nearby.
Folding doors introduce an additional joint and seals that also need care. They can solve a space problem, but the folded panels still occupy room somewhere. Make sure they do not interfere with the shower controls or reduce comfortable standing space.
Corner and Neo-Angle Enclosures
Corner enclosures use two existing bathroom walls, with glass completing the showering area. Square and rectangular footprints offer straightforward layouts, while neo-angle enclosures have an angled front that changes the entrance position and surrounding clearance.
The Ravenna 26 frameless bi-folding shower enclosure provides a corner configuration with a folding entrance. Alternatively, the Ravenna 28 Clear rectangular hinged shower enclosure combines 6 mm toughened safety glass with an L-shaped arrangement and a hinged door.
The Ravenna 28 Clear door is not reversible and must be installed as pictured. Neither of these corner configurations is a neo-angle enclosure, so match the exact footprint and orientation to your tray and room.
An L-shaped enclosure is useful where two walls already define a corner. A U-shaped arrangement can complete a shower against a single wall, but requires the correct supporting configuration and more glass panels. Choose the layout around the room rather than forcing a preferred product into an unsuitable position.
For a neo-angle model, check each panel dimension and angle against the compatible tray. Two enclosures with a similar overall footprint may have different front sections, so broad width and depth measurements alone are not enough.
Semi-Frameless vs. Framed vs. Frameless Enclosures
Price and Overall Value Comparison
Standard framed enclosures often provide an economical starting point. Semi-frameless options can offer a middle ground, while bespoke frameless systems tend to cost more. However, premium semi-frameless products can exceed the price of standard frameless alternatives.
| Feature | Framed | Semi-frameless | Frameless |
|---|---|---|---|
| Visible metalwork | Extensive profiles | Partial framing | Minimal framing; fittings remain |
| Typical price position | Often lower | Often mid-range | Variable; bespoke systems often higher |
| Visual effect | Defined outline | More open, with visible borders | Most uninterrupted glass appearance |
| Cleaning focus | Glass, profiles and tracks | Glass and remaining profiles or mechanisms | Glass, seals and hardware |
| Fitting considerations | Frame alignment and adjustment | Profiles, glass alignment and seals | Precise alignment and suitable hardware support |
Compare the total installation cost, including delivery, fitting, any required tray and removal of the old enclosure. A door-only listing is not equivalent to a complete enclosure with side panels.
Ask installers to quote against the same scope of work. Confirm whether their price includes removal and disposal, tray installation, sealing, replacement fixings and any necessary making good. If tiling or wall repairs are excluded, allow for them separately.
Also consider what happens after installation. A slightly higher purchase price may be worthwhile if replacement seals and rollers are easy to obtain. Equally, a premium finish offers limited practical value if the enclosure layout makes the bathroom awkward to use.
Aesthetic Appeal and Bathroom Space Impact
Framed glass doors create a strong outline that can suit traditional or deliberately structured interiors. Semi-frameless designs soften that outline, while frameless options allow more continuous views through the glass.
Reduced framing may help a compact bathroom feel more open, but it does not increase the physical floor area. Entrance width, door clearance and the position of nearby fittings remain essential.
Clear glass can maintain sightlines to the far wall, helping tile patterns and lighting remain visible. However, a poorly positioned enclosure can still make circulation uncomfortable even when its framing is minimal. Start with a workable floor plan, then refine the appearance.
If you want a cohesive finish, repeat metal colours selectively rather than trying to match every surface exactly. A consistent relationship between the shower hardware and taps often looks calmer than several competing statement finishes.
Cleaning, Maintenance, and Longevity
Framed systems generally have more profile edges to clean. Semi-frameless models reduce some of these surfaces, while frameless systems still need attention around hinges, brackets and seals.
Long-term value depends on component quality, installation, water conditions and access to replacement parts. Seals and rollers may need replacement while the main glass remains serviceable. Check parts availability and warranty terms alongside the initial price.
Separate routine cleaning from occasional servicing. Wiping the glass controls deposits, while checking loose fittings and worn seals helps preserve operation. Neither task replaces the other. A clean-looking door may still need attention if it begins dragging or stops closing correctly.
Before purchasing, ask how spare parts are identified and ordered. Keep the model name, size, order details and installation instructions together. Photographs of the original assembly can also make it easier to identify the correct replacement component later.
How to Choose the Right Shower Enclosure for Your Bathroom
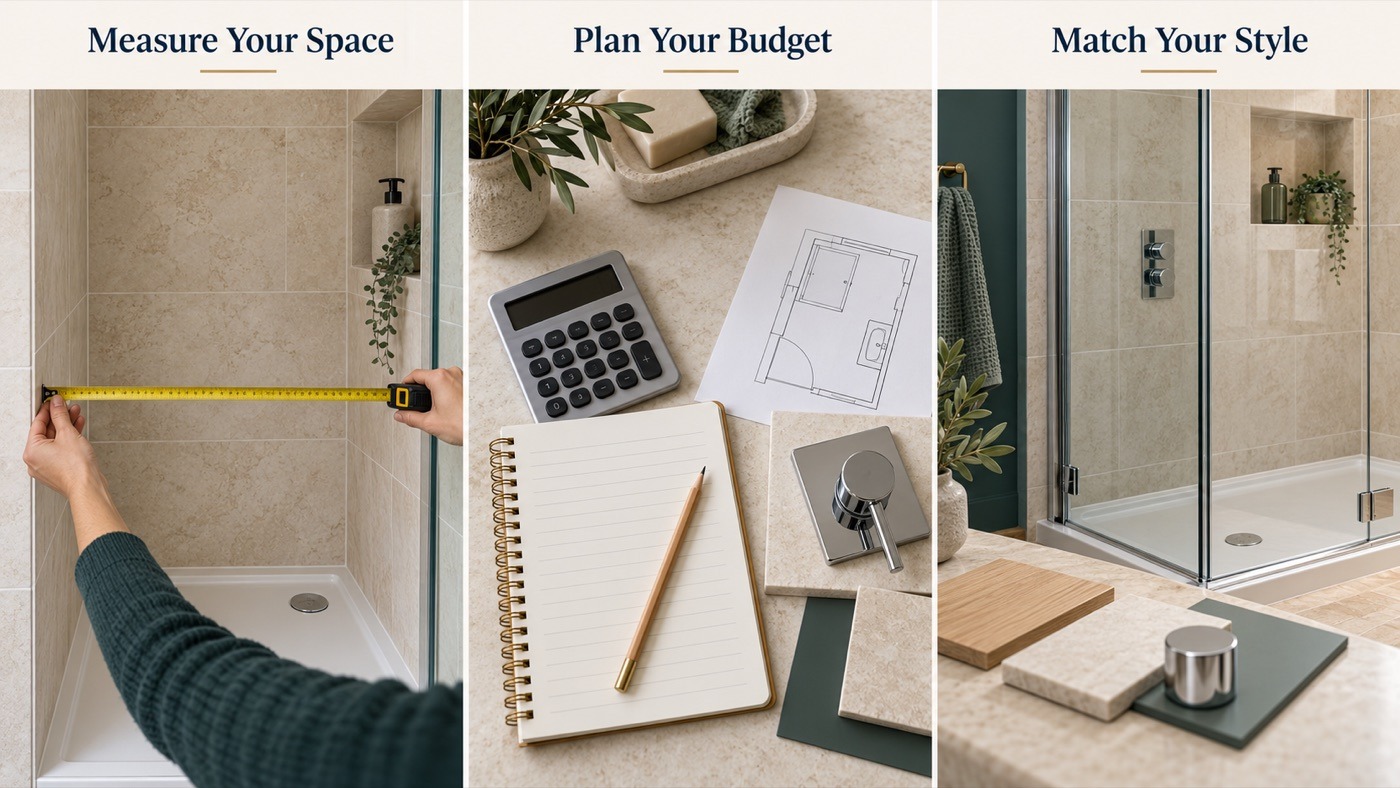
Assessing Your Budget and Bathroom Size
Set a complete project budget covering the enclosure, tray, waste, labour and any changes to plumbing or tiling. Measure the finished opening at several heights and compare the results with the manufacturer’s adjustment range.
Consider the clear entrance width, ceiling height, door movement and compatibility with the tray. Sliding doors may suit restricted floor space; hinged or folding options may offer a more suitable entrance in other layouts.
For an existing bathroom, check more than the space occupied by the current enclosure. Replacement profiles may cover different areas of the wall, exposing old fixing holes or unfinished tiles. Discuss this before assuming a straightforward swap will leave every surface concealed.
For a new layout, mark the proposed footprint and door movement on the floor. This simple exercise can reveal awkward access to the basin, toilet or towel storage before materials are ordered. Leave comfortable circulation space rather than planning only around whether components physically fit.
Evaluating Maintenance Expectations
Choose a design that matches your cleaning routine. Accessible glass, simple profiles and fewer narrow recesses can make regular care more manageable.
For sliding models, check whether the rollers or panels release for cleaning. For coated glass, follow the specified care instructions. A water-repellent coating can assist cleaning, but it does not make an enclosure maintenance-free.
In a hard-water area, drying the glass regularly can be more useful than relying on occasional intensive descaling. Consider whether a squeegee can be stored within easy reach and whether all users can access the lower rails without difficulty.
Ask for the cleaning instructions before purchase if the finish or coating is unfamiliar. Some attractive surfaces need gentler products than standard bathroom cleaners. Knowing this in advance helps avoid an enclosure that demands more care than you want to give it.
Matching Your Interior Design Style
Coordinate the enclosure’s visible hardware with taps, shower fittings and accessories. Chrome provides a versatile finish, matt black creates a stronger outline, and brushed metallic finishes can add warmth.
Compare samples where possible, as similarly named finishes can differ between brands. Decide whether the enclosure should be a visible feature or allow the tilework to take more attention.
The glass also affects the overall impression. Clear panels allow decorative tiles to remain a focal point, while visible seals and hardware still contribute to the finished look. View the combination of frame, glass and handle rather than choosing a finish in isolation.
For a bathroom intended to remain in use for many years, consider how easily the enclosure will work with future changes to accessories and paint colours. A restrained finish can offer flexibility, while a stronger contrasting outline can become the room’s lasting design feature.
Installation and Maintenance Tips
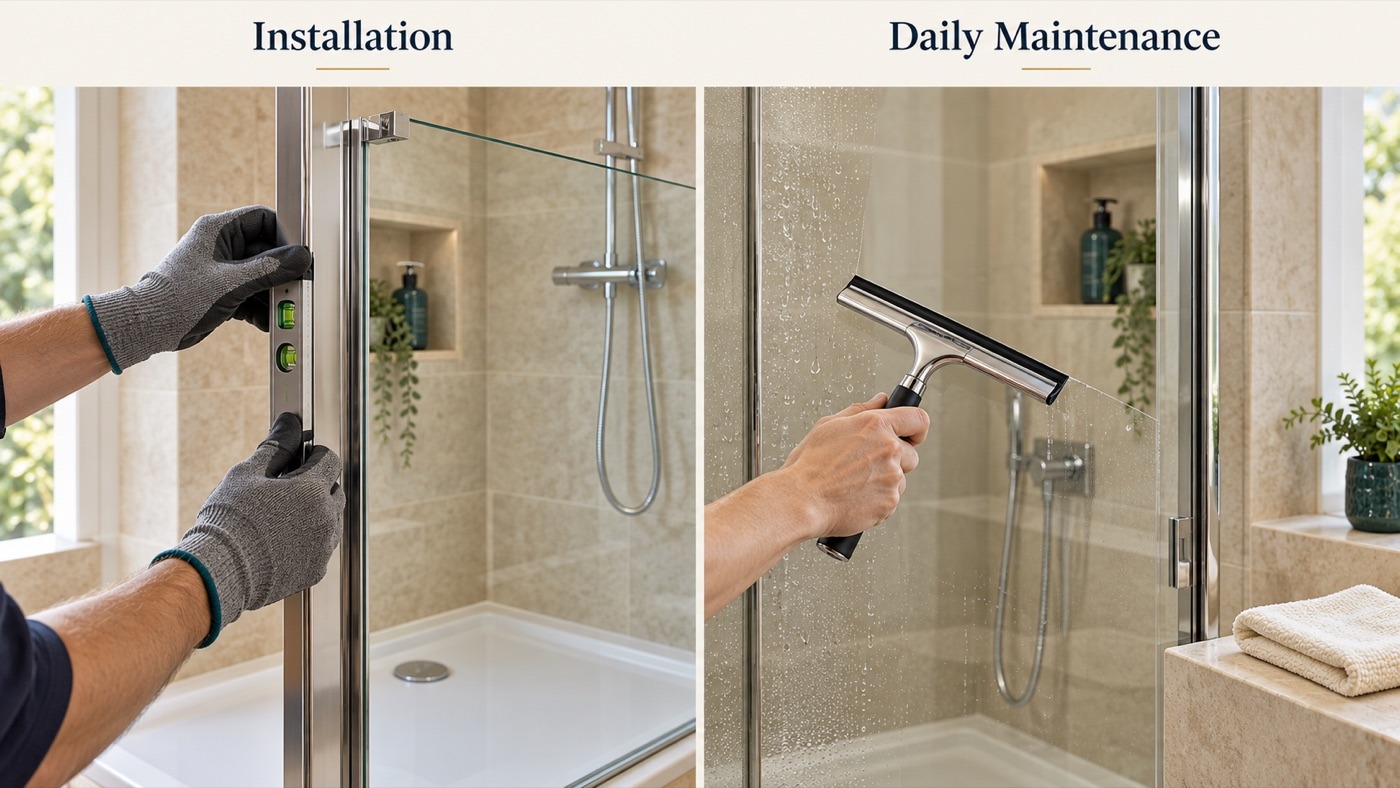
Key Steps in the Installation Process
Use the instructions for the exact model, as fixing, assembly and sealing requirements differ. Professional fitting is sensible if you are unfamiliar with handling large glass panels or assessing wall support.
- Check compatibility. Confirm the enclosure dimensions, tray and finished opening match.
- Prepare the surfaces. Ensure the tray is stable, waterproofing is complete and the walls can accept the specified fixings.
- Fit profiles and supports. Work within the permitted adjustment range and check alignment.
- Install the glass and mechanism. Use suitable assistance, protect the edges and follow the fixing instructions.
- Align the door and seals. Check smooth movement, closure and clearances.
- Seal as directed. Keep specified drainage routes clear and allow the required curing time.
- Test before normal use. Check operation and investigate any water escaping outside the enclosure.
Confirm the installation sequence with your fitter before tiling is finished. The tray-to-wall junction, wall waterproofing and later enclosure seals perform different jobs, and all need appropriate detailing. An enclosure should not be used to conceal an unresolved waterproofing problem.
After installation, retain the instructions and record any adjustments made. Do not use the shower until the sealant has cured for the period specified by its manufacturer. During the first uses, check the outside corners and floor so that an alignment or sealing issue can be addressed promptly.
Daily Cleaning and Glass Maintenance Hacks
A brief routine after showering helps prevent deposits from becoming difficult to remove. Squeegee the glass, wipe accessible profiles with a soft cloth and keep the bathroom ventilated.
Use a manufacturer-approved cleaner and rinse away residue. Avoid abrasive pads and sharp tools. Check compatibility before applying acidic descalers or household cleaning mixtures to glass coatings, metal finishes, seals or surrounding surfaces.
Inspect seals, rollers and hinges periodically. Replace worn parts promptly, and use lubricants only where the manufacturer recommends them.
For a manageable routine, divide care into three tasks: remove surface water after use, clean reachable glass and profiles regularly, and inspect moving parts periodically. The precise frequency depends on household use, ventilation and how quickly deposits form.
If a door becomes noisy, stiff or uneven, stop forcing it and check the manufacturer’s guidance. Dirt in a guide may be straightforward to remove, but a loose fitting or damaged component needs the correct repair. Avoid improvising adjustments to load-bearing hardware.
Frequently Asked Questions
Are semi-frameless shower doors leak-proof?
They are designed to contain normal shower spray when correctly installed and used, but should not be assumed completely leak-proof. Water may escape through damaged seals, incorrect alignment or poorly sealed joints. Directing a strong jet at a door gap can also cause splashing. Persistent leakage needs investigation.
A well-fitted enclosure should keep ordinary showering water within its intended boundaries, but the result also depends on the tray, drainage and shower position. If water repeatedly reaches the bathroom floor, arrange a check rather than treating it as an inevitable feature of semi-frameless doors.
Is a semi-frameless shower enclosure cheaper than a frameless one?
Often, particularly when comparing a standard semi-frameless enclosure with a bespoke frameless installation. However, prices overlap. Compare equivalent dimensions, glass thickness, hardware and included panels, then add fitting and preparation costs to assess the complete project.
The fairest comparison is a complete installed package. Include side panels, tray requirements, delivery and labour, and compare standard products with standard products. A bespoke frameless quotation is not a useful price benchmark for every off-the-shelf enclosure.
How long do semi-frameless shower enclosures last?
There is no single lifespan that applies to every enclosure. Product quality, installation, frequency of use, water conditions and maintenance all affect service life. The glass and frame may remain usable while seals, rollers or silicone joints need attention. Available spare parts can help extend the enclosure’s useful life.
Warranty length should not be treated as a guaranteed service life. Read which parts are covered, whether finishes and moving components have different terms, and what care conditions apply. Keeping purchase records and replacing worn service parts can make ownership more straightforward over time.
A semi-frameless enclosure is worth considering if you want reduced framing with practical structural support. Compare the complete specification and installed price with framed and frameless alternatives, then choose the layout that best suits your space and cleaning routine.
Durovin Bathrooms are based in Walsall, UK and a bathroom supplier to mainland UK. We sell a wide range of products for anyone to improve their bathrooms.
Read More About UsAddress
Unit 14 Bentley Lane Industrial Park, Bentley Lane, Walsall, WS2 8TL
E-Mail us
info@durovinbathrooms.co.ukPhone
01922 627 773© Durovin Bathrooms® 2025